Save Changes to a Note
Now that our note loads into our form, let’s work on saving the changes we make to that note.
 Replace the
 handleSubmit method in src/containers/Notes.js with the following.
saveNote(note) {
  return API.put("notes", `/notes/${this.props.match.params.id}`, {
    body: note
  });
}

handleSubmit = async event => {
  let attachment;

  event.preventDefault();

  if (this.file && this.file.size > config.MAX_ATTACHMENT_SIZE) {
    alert(`Please pick a file smaller than ${config.MAX_ATTACHMENT_SIZE/1000000} MB.`);
    return;
  }

  this.setState({ isLoading: true });

  try {
    if (this.file) {
      attachment = await s3Upload(this.file);
    }

    await this.saveNote({
      content: this.state.content,
      attachment: attachment || this.state.note.attachment
    });
    this.props.history.push("/");
  } catch (e) {
    alert(e);
    this.setState({ isLoading: false });
  }
}
And include our s3Upload helper method in the header:
import { s3Upload } from "../libs/awsLib";
The code above is doing a couple of things that should be very similar to what we did in the NewNote container.
-
If there is a file to upload we call
s3Uploadto upload it and save the key we get from S3. -
We save the note by making a
PUTrequest with the note object to/notes/:idwhere we get theidfromthis.props.match.params.id. We use theAPI.put()method from AWS Amplify. -
And on success we redirect the user to the homepage.
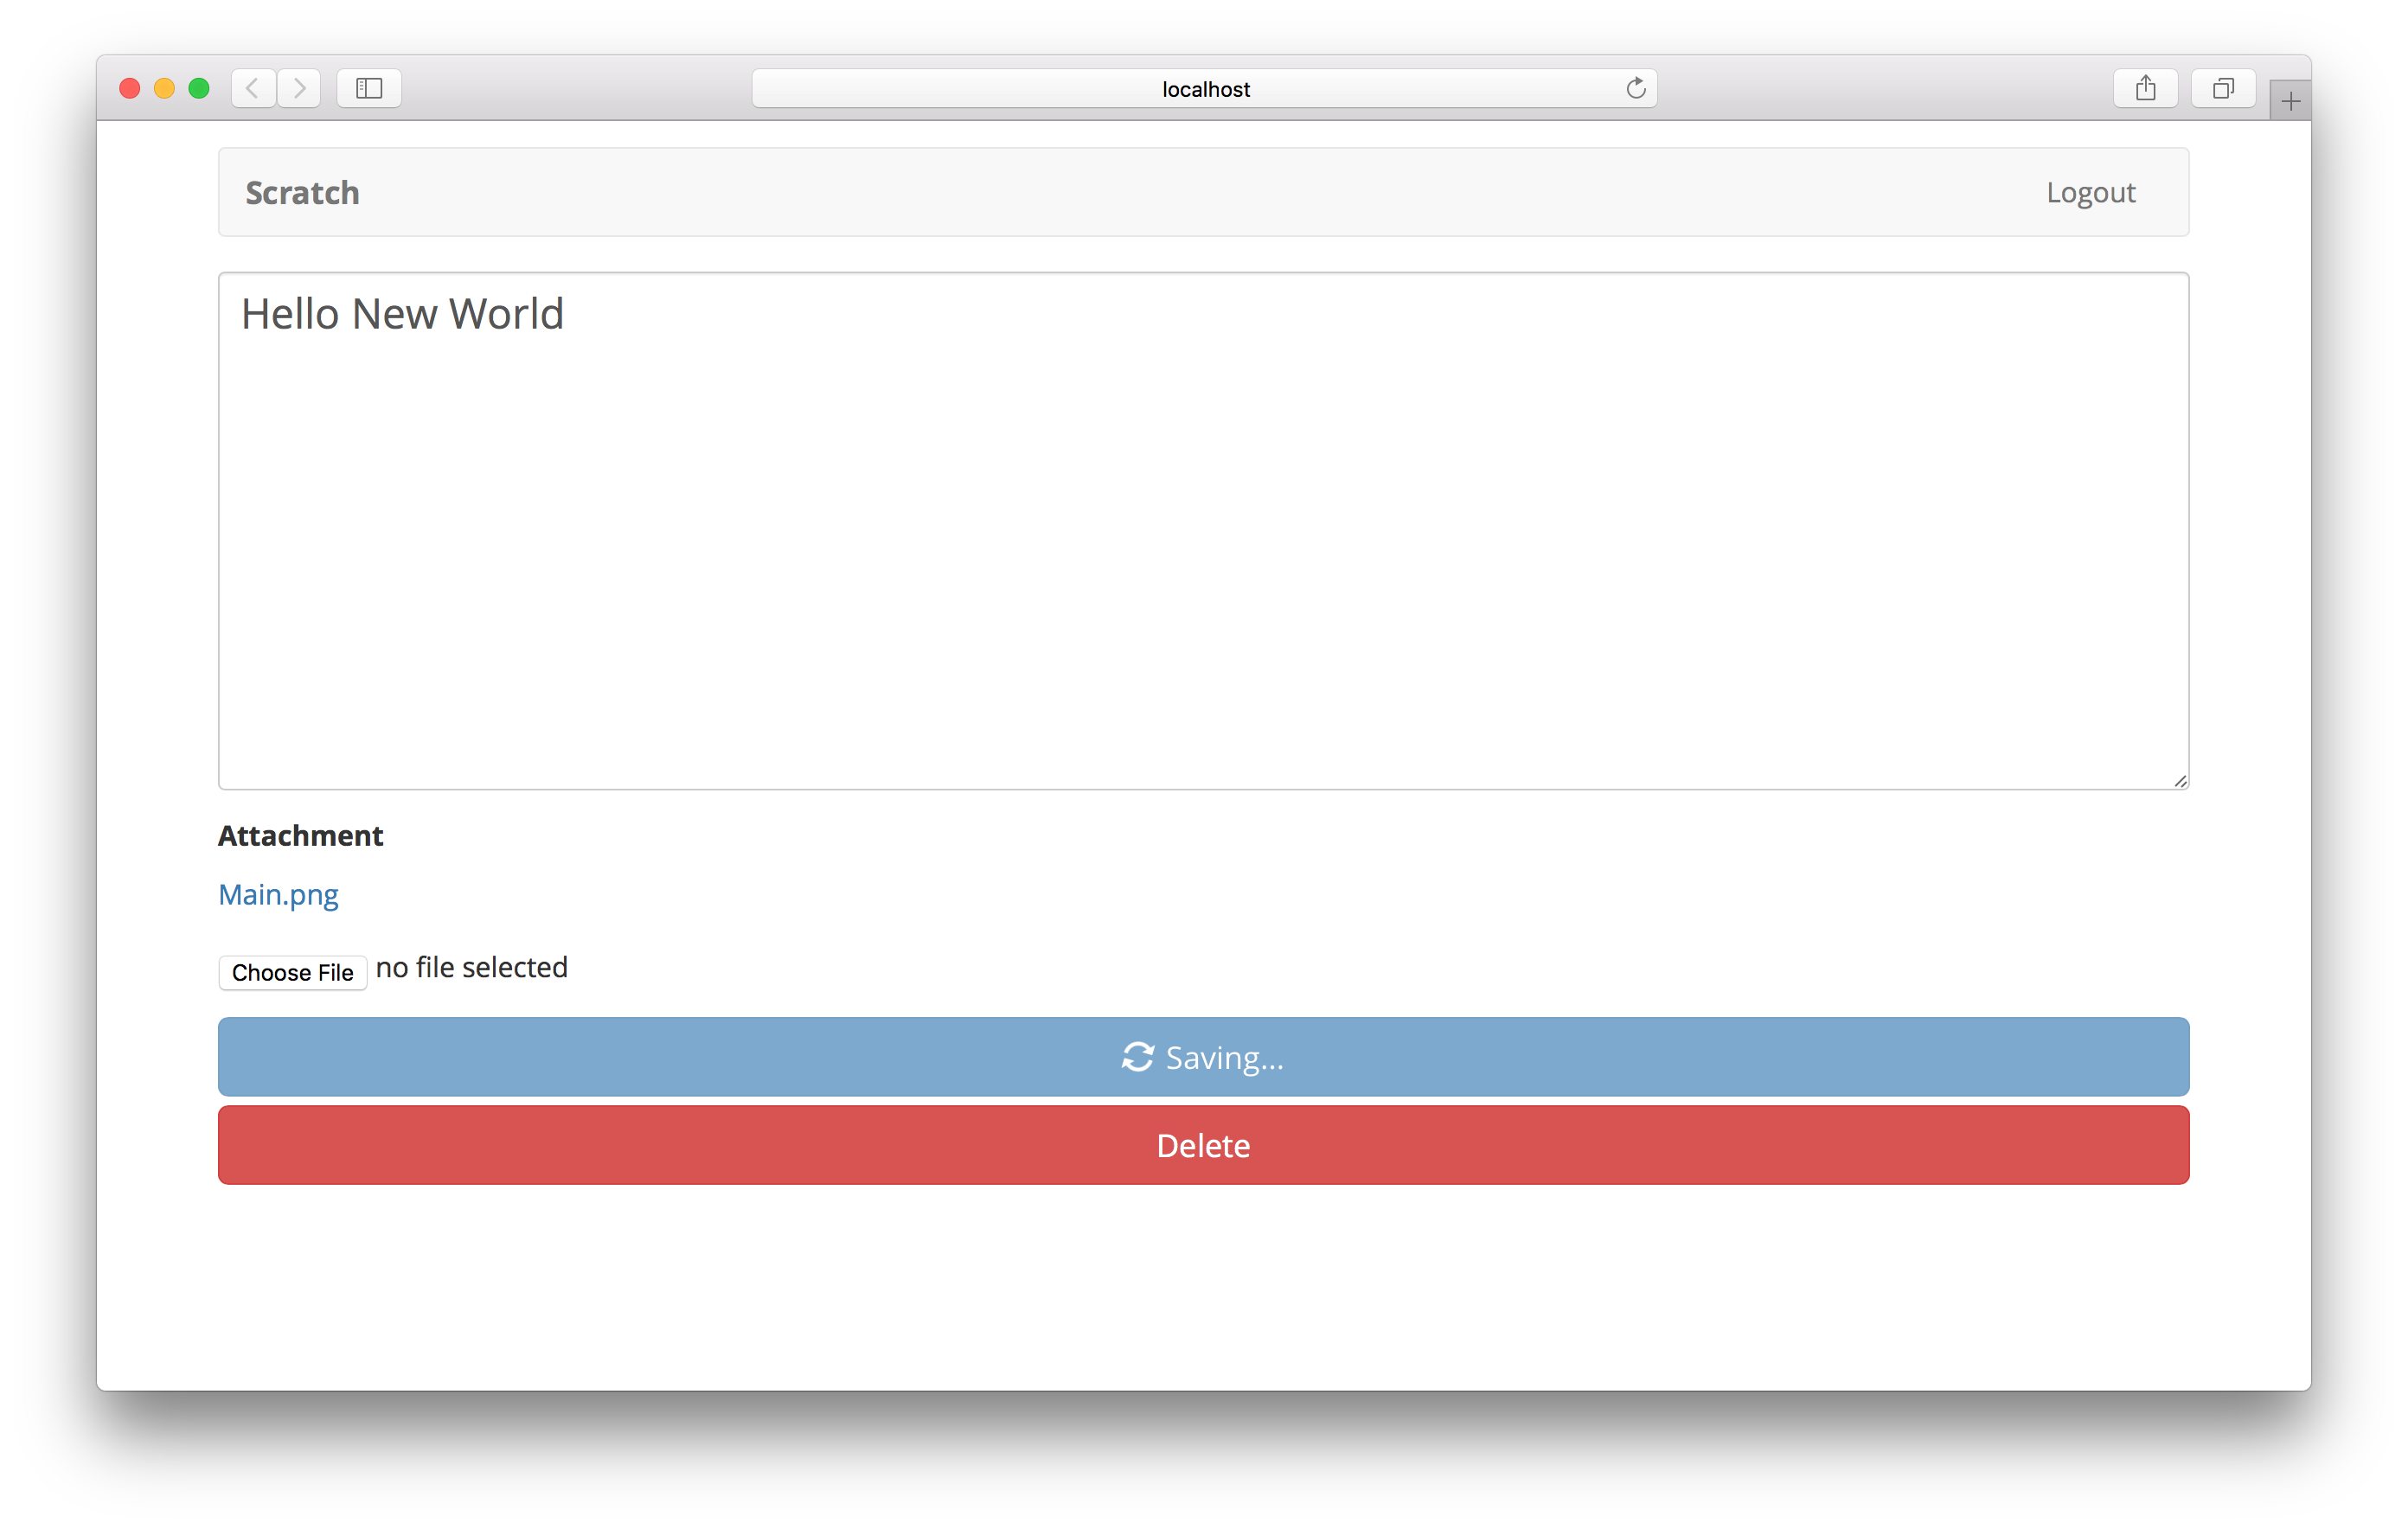
Let’s switch over to our browser and give it a try by saving some changes.
You might have noticed that we are not deleting the old attachment when we upload a new one. To keep things simple, we are leaving that bit of detail up to you. It should be pretty straightforward. Check the AWS Amplify API Docs on how to a delete file from S3.
Next up, let’s allow users to delete their note.
For help and discussion
Comments on this chapterIf you liked this post, please subscribe to our newsletter, give us a star on GitHub, and follow us on Twitter.
Brought to you by
